There’s something about the smell of apples sizzling in butter that pulls me right back to my childhood kitchen in Philly. Picture it: a chilly Saturday morning, windows fogged up from the warmth inside, and my mom humming along to the old radio in the corner while she worked a cast iron skillet like it was second nature. That aroma—sweet, buttery, with a good dose of cinnamon—was our unofficial wake-up call. We’d tumble out of bed like it was Christmas morning, knowing full well fried apples were on the stove.
Now, this fried apples recipe isn’t just food—it’s a memory. And if you’re here lookin’ for something that feels like a hug on a plate, this might be the thing. What I love most about this dish is how simple it is—just apples, butter, cinnamon, and sugar. But somehow, it always feels like more than the sum of its parts. It’s a bit like magic that way.
This one reminds me a little of an old fashioned fried apple recipe you’d find scribbled on an index card tucked in grandma’s cookbook. It’s not fancy, but boy, does it bring the comfort. And if you’re like me, always on the lookout for a fried apple recipe with brown sugar? Just sub out half the white sugar for brown—you’ll get that deep, almost caramel-like flavor that takes it up a notch.
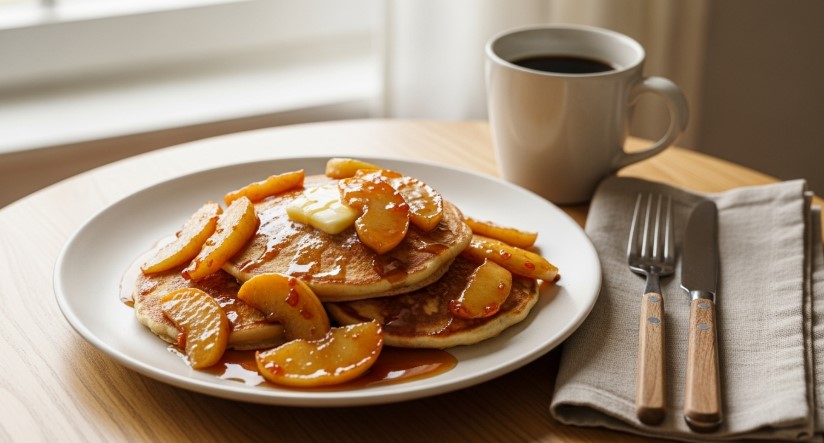
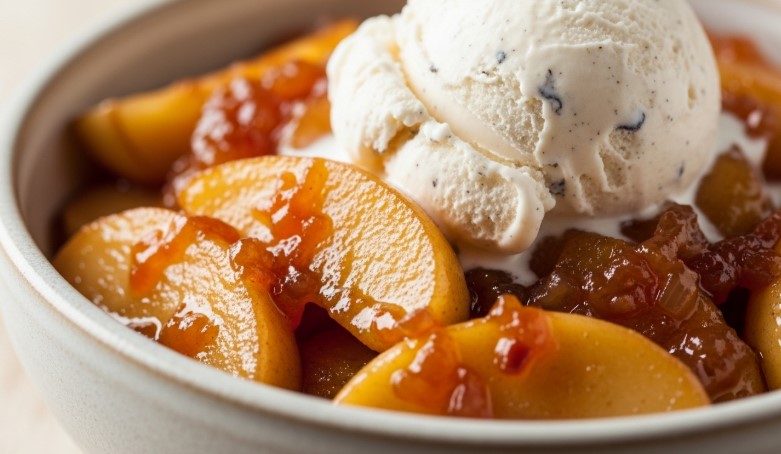
We’d serve this alongside pancakes or over oatmeal, but let me tell ya, it’s also fantastic piled high on pork chops or spooned warm over a scoop of vanilla ice cream. And if you’re trying to keep things on the healthy side? Well, you can go light on the sugar, use coconut oil instead of butter, or even try honey as a swap.
Every time I make these, I think of how my Nonna used to keep things so simple in the kitchen—but man, her food could stop you in your tracks. She didn’t use measurements, just instinct and a whole lotta love. That’s what I hope you feel when you make this simple fried apple recipe—like someone’s right there with you, stirring the pan, telling stories about “back in the day.”
And hey, if you’re more into the whole apple crisp recipe vibe? Try adding a little oatmeal crumble on top and baking it for a few minutes in the oven. Instant shortcut crisp.
So whether you’re lookin’ for a fried apples recipe healthy spin or just tryin’ to bring a little Southern warmth to your kitchen, this one’s for you. Let the smell fill your home, and maybe—just maybe—it’ll take you back to a simpler time, too.
FAQs
How do you do fried apples?
Super easy—just melt some butter, stir in sugar and cinnamon, then toss in sliced apples and cook until they’re tender. It’s one of those no-fuss recipes that always hits.
What apples are best for frying?
Granny Smith is my go-to—nice and tart, holds its shape. But Honeycrisp or Fuji work great too if you want something sweeter.
Are fried apples healthy?
They can be, depending how you tweak it. Use less sugar, try coconut oil instead of butter, and skip the ice cream on top (or don’t—we’re not judging here).
Can you caramelize apples without sugar?
You bet. Apples have natural sugars, so if you cook ‘em low and slow with just a bit of water and cinnamon, they’ll soften and sweeten all on their own. Add a splash of apple juice if you want more flavor.
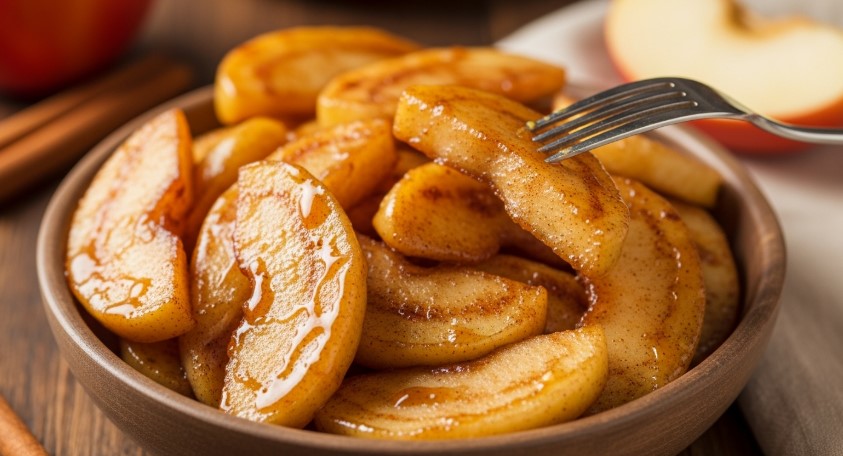
Fried Apples Recipe
A simple and sweet Southern-style fried apples recipe made with cinnamon, sugar, and butter. Perfect for breakfast, dessert, or spooned over pancakes.
- Prep Time: 10 minutes
- Cook Time: 10 minutes
- Total Time: 20 minutes
- Yield: 4 servings 1x
- Category: Dessert / Side
- Method: Stovetop
- Cuisine: Southern American
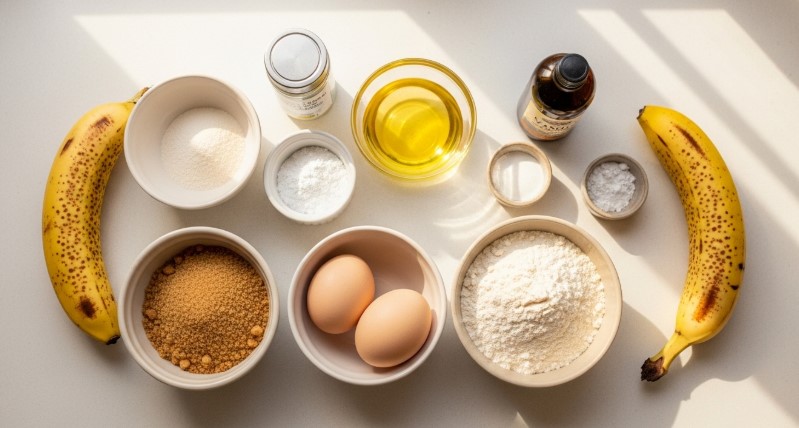
Ingredients
½ cup butter
½ cup white sugar (or swap half for brown sugar for a deeper flavor)
2 tablespoons ground cinnamon (or less, to taste)
4 Granny Smith apples – peeled, cored, and sliced
Instructions
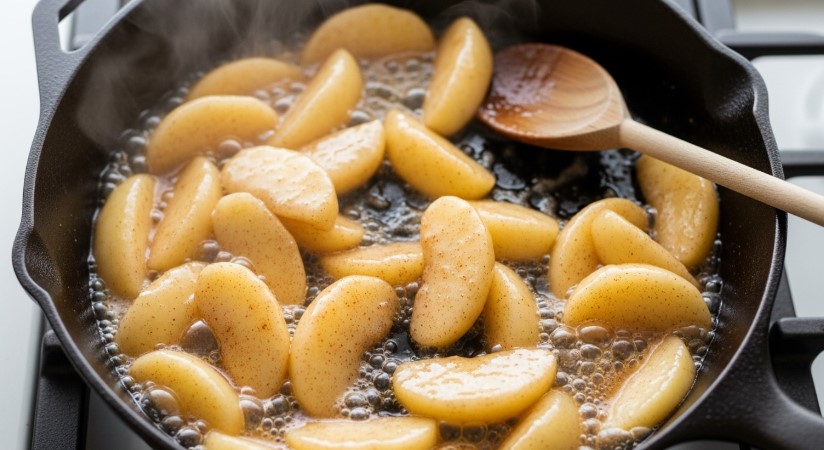
- In a large skillet, melt the butter over medium heat.
- Stir in the sugar and cinnamon until it all melts together into a sweet, cinnamony sauce.
- Toss in the sliced apples and stir to coat them well.
- Cook for 5 to 8 minutes, stirring occasionally, until the apples are soft but still hold their shape.
- Serve warm, and if you’re feelin’ extra cozy, add a scoop of vanilla ice cream or spoon it over pancakes.
Notes
- Wanna lighten it up? Use coconut oil and a drizzle of maple syrup instead of butter and sugar.
- If you’ve got leftovers, pop ‘em in the fridge and reheat in a skillet (or the microwave, no shame in that).
- Toss in a pinch of nutmeg for a little holiday flair.
- Let me know if you make it—drop a comment, leave a star, or tag me in your photos. I *love* seeing your kitchen stories.
Nutrition
- Serving Size: 1 serving
- Calories: 369kcal
- Sugar: 39g
- Sodium: 165mg
- Fat: 23g
- Saturated Fat: 15g
- Unsaturated Fat: 6g
- Carbohydrates: 45g
- Fiber: 5g
- Protein: 1g
- Cholesterol: 61mg