So, picture this: it’s mid-July, sticky as all get out, and I’m standing in front of the freezer, doing that thing where you open it just to feel something cold. You know the move. My mom used to catch me and shout from across the room, “Michael! You lettin’ all the cold out again!”
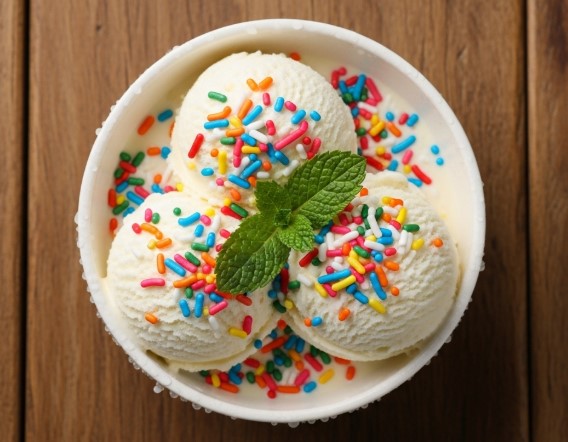
Anyway, one summer afternoon like that, my cousin Frankie comes over, lugging this futuristic-looking machine like he’d just pulled it outta a spaceship. “Bro, you need this Ninja Creami in your life,” he says. I raised an eyebrow. Seemed like a gimmick, right? Fast forward a few hours, and I’m eating some of the creamiest homemade vanilla ice cream I’ve ever tasted. I was sold. Hook, line, and sprinkles.
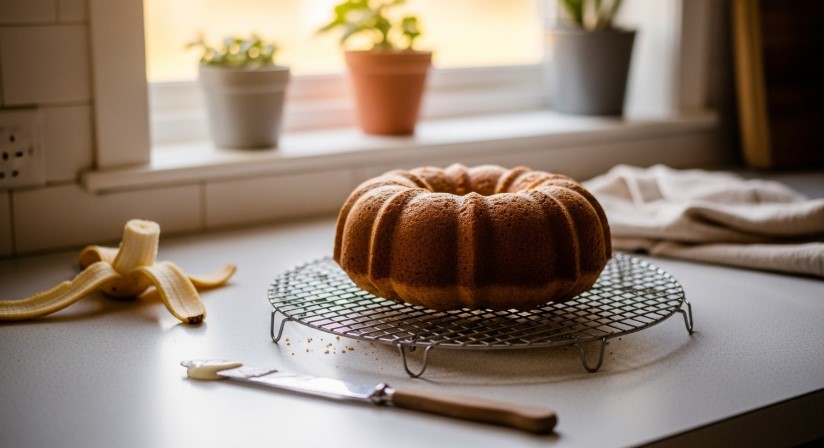
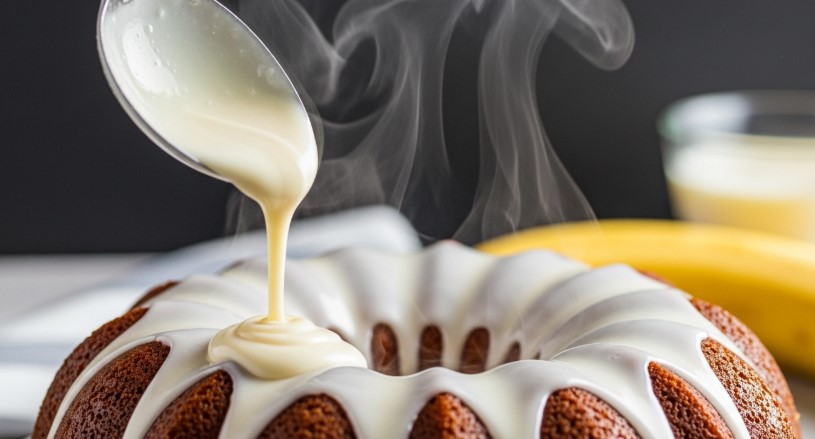
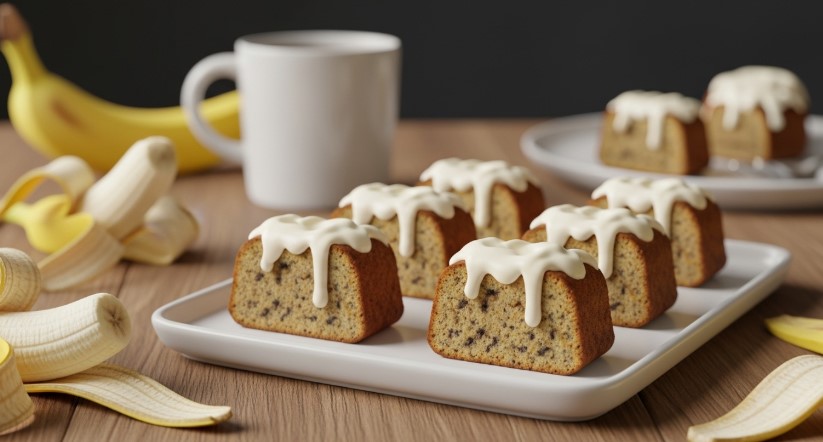
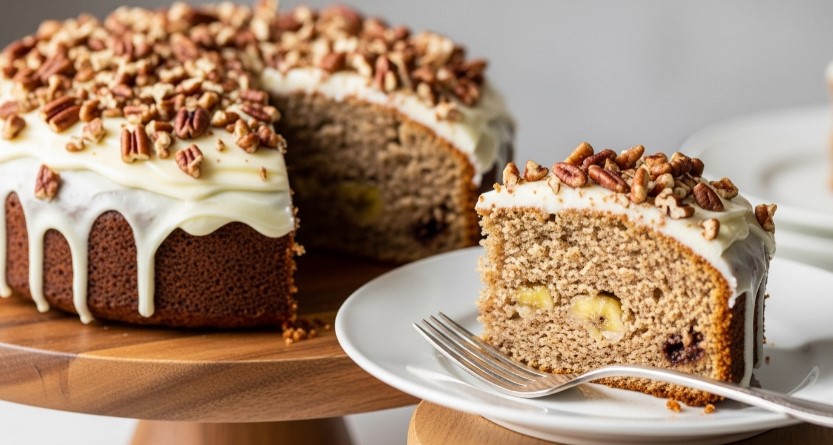
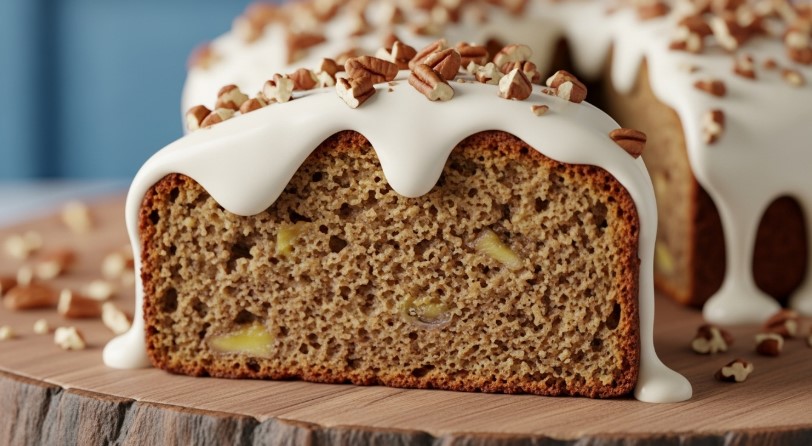
If you’re into cozy homemade sweets like I am, you might also wanna check out a few of my go-to banana treats:
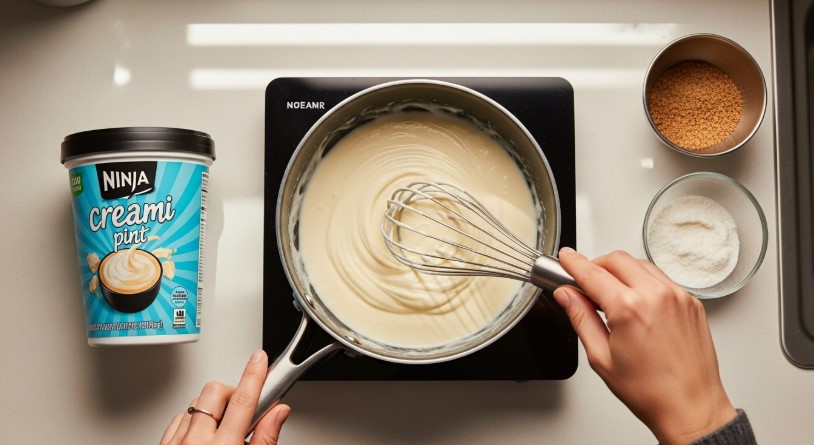
Now, I’m not just sharing any recipe today—this here’s my go-to Ninja Creami vanilla base. It’s kinda magical because it only takes a handful of ingredients you probably already got in the fridge. It’s quick, it’s creamy, and it’s endlessly flexible. You can keep it classic or use it as your base for those 3 ingredient Ninja Creami recipes, protein ice cream twists, or just a straight-up sweet treat after dinner.

The star of the show here? Cream cheese. I know, sounds kinda weird, right? But lemme tell ya—it gives the ice cream that rich, dreamy texture you’re looking for. Even my lactose-intolerant buddy Rina swears by the dairy-free version. Oh, and if you’re like me and dabble with protein shakes, you can swap the milk with your favorite shake and boom: Ninja Creami protein ice cream.

I freeze mine for at least 3 hours—some folks say 24, but that feels like a lifetime when your sweet tooth’s calling. Just know, if it looks crumbly at first? Hit that re-spin. It’ll smooth out like butter on toast.
And hey, I’ve gotta say—this one’s a dream blank canvas. Add chocolate chips, a spoon of peanut butter, or crushed graham crackers. It handles it all. The best part? One pint. One person. No sharing required. (Don’t tell my niece I said that.)

FAQs
What ingredients do I need for Ninja Creami?
For the classic vanilla base: cream cheese, sugar, heavy cream, whole milk (or alt milk), and vanilla extract. That’s it. No weird powders or thickeners here.
Why don’t we recommend the Ninja Creami?
Honestly, I do recommend it—for ice cream lovers who wanna play around with ingredients. But if you’re looking for traditional custard-style ice cream or big batches, this might not be your jam.
What is the best mix-in for Ninja Creami?
I’m a sucker for crushed Oreos or a swirl of peanut butter, but honestly? Mini pretzels. The salty crunch with sweet vanilla? Yes, please.
Do you really have to wait 24 hours for Ninja Creami?
Nope. I usually freeze mine for just 3 hours and it works great. If it’s not as smooth, just re-spin once or twice.